Tamiya’s most recent entry in its 1/24 scale car series is the Ferrari LaFerrari. Ferrari unveiled the limited edition car at the 2013 Geneva Motor Show. The car is actually a hybrid, with batteries under the passenger cabin that are charged in several unique ways, such as excess torque from the 6,262cc 800 hp V12 engine and under-braking. When combined with the power from the electric motor, the car has a whopping 963 hp.
Tamiya’s rendition of the car is impressive. The kit comprises multiple
sprues - two black, 1 grey, 1 clear, 1 translucent red, 1 red, and 1
front fascia in red. The kit also contains a decal sheet, metal
transfers, nylon mesh for various grills and vents, rubber tires, and
masks for the front and rear glass.
The instructions follow the typical pattern for any Tamiya car build. The engine, transmission, headers, and exhaust are assembled and attached to the frame. The red here goes well with the suggested color scheme of red and black. As I painted the car yellow (more later), I probably should have hit this with yellow as well, but it does provide a nice contrast through the rear window.
Tamiya includes the batteries for the hybrid system that are placed in a recess on the underside of the vehicle. I thought this odd at first, until I noticed that the panel that would cover this is actually molded in clear plastic. This gives the modeler the option to put more detail down here and actually see it.
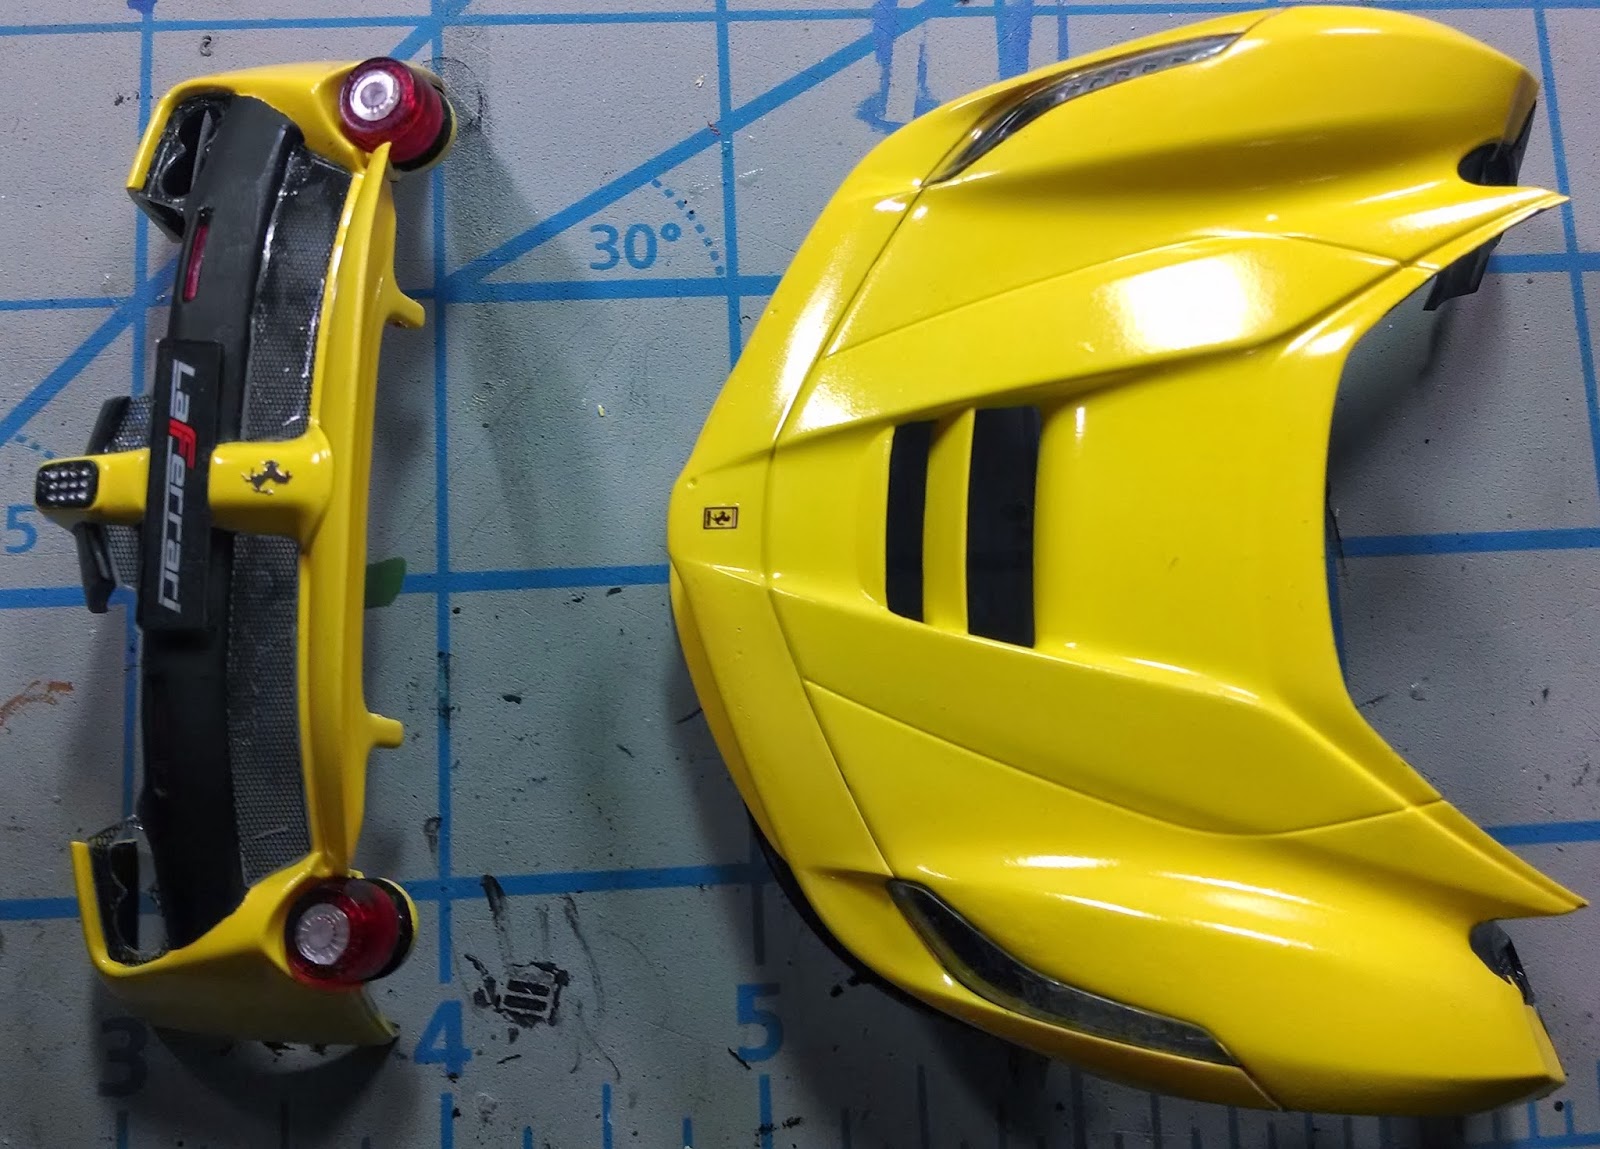
The next few steps see the addition of the suspension, brakes and rotors, and the full body monocoque. Note that I painted the rotors yellow here, as I chose a yellow body color for my assembly. The LaFerrari is available in red, yellow, or black. I chose yellow as I recently built the Ferrari Enzo in red, so I wanted a contrast.
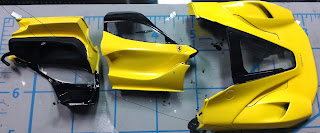
The under-body is completed next. As you see, I chose to paint the clear panel over the batteries. The two silver sections are actually molded separately, so they can be painted and then glued onto the under-body. This made painting much simpler.
More detail is then added to the engine compartment. The air intake is prominent here. This is also the first instance where the nylon mesh is utilized. There are several grills or vents over the car that are covered with the nylon mesh. The instructions have a template that is used to correctly shape the mesh pieces. This is often where Tamiya will have photo etch options. There are several locations throughout the build where the optional photo etch parts would replace the kit parts. I found that pressing down with my modeling knife on the mesh worked better than trying to slice the mesh. Even with a new blade, slicing tended to pull the mesh apart.
The interior comes next. I again replaced any red with yellow, and chose to get creative with the seats. This is not how the instructions illustrate the seats, but I liked the look.
From there, the body panels, door panels, and other details come together. For the rear body panel, there are several clear parts that are then covered with a mesh decal. The instructions indicate that the parts are to be attached first, followed by the decal application. However, I had difficulty getting the decals to sit appropriately in their places so I would recommend that the decals be applied prior to the attachment of the plastic parts to the rear panel. The rear spoiler can be assembled in the retracted or extended positions. I chose the retracted position. The fit of the front body panels was typical Tamiya, with the multiple parts falling together.
It was not until I got to the rear hatch that I started having fit issues. The venting in the rear hatch did not fit flush, as can be seen in the gaps present. With some sanding and filling, the parts would likely fit better. I doubt that this is an issue with the kit, and more with my color choice for the body. Since the kit is molded in red plastic, I had to use multiple coats of primer to cover the red followed by several coats of yellow to get a solid color. Though my coats where very thin, it was apparently enough to leave fit issues in the rear panels. Not particularly visible in the picture are additional gaps between the glass and the surrounding plastic frame of the rear hatch.

The body panels go on the frame fairly easily, but I ran into more fit issues here. A primary example would be between the hood and the door panels. Again, I can’t say that it is the kit that has the issue, but it was a first for a Tamiya kit in my experience. The wheels and exhaust are molded in red plastic, so again I painted them yellow. I would not be surprised if they are chromed in the final release of the kit, as that is often the presentation I have seen in Tamiya’s car releases.
The rear hatch has two struts to keep the engine compartment open. The doors can also be latched in the open position, though I was unable to get them to stay open long enough to take a picture.
Overall I enjoyed the kit. I think if I were to build the kit again I would stick to the kit suggested red. I might have fewer fit issues then, as the number of paint coats would be drastically reduced. With the exception of the body panels, the kit went together fantastically for me. And now for some fingerprint revealing photos. It always amazes me how a camera really brings out the fingerprints you can’t see otherwise…